Step 1: Create and enroll the client identity
In this step, you'll create a client identity to represent your local machine on the network, assign it an attribute used later in policy, and enroll it in your tunneler app so it can authenticate and connect.
-
Create a new client identity and name it Get started client.
-
Assign the attribute
#get-started-clientto the identity. This attribute is used later for the dial service policy. -
Click Save.
-
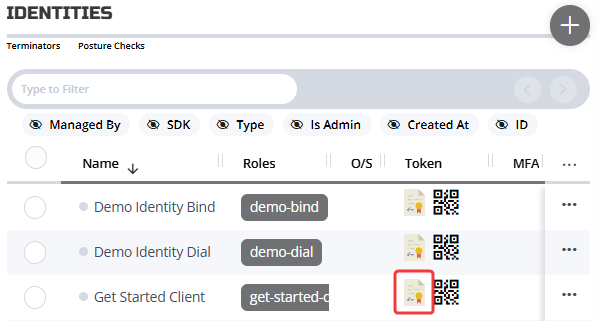
From the Identities page, find your new identity, and click the JSON Web Token (JWT) icon under the Token column to download the JWT:
-
Use the downloaded JWT to enroll the identity on your local NetFoundry tunneler app.
- Ziti Desktop Edge (Windows): Click Add identity > With JWT in the top-right and select your downloaded JWT. It will automatically enroll the new identity.
- Ziti Desktop Edge (MacOS): Click the + > With JWT and select your downloaded JWT. Next to Enrollment Status, click Enroll.
- For Linux, see Linux tunneler.
-
Verify that the identity shows as online in the console (in Identities; this might require a refresh):

If it's not online, check that your tunneler is turned on and your identity is enabled.